How to Create a Free Contact Form for Your Website (Step-by-Step)


A contact form is one of the most important elements on any website. It gives visitors a direct, low-friction way to reach you without exposing your email address to spam bots. Whether you run a small business, a portfolio site, a SaaS product, or a blog, a well-designed website contact form is essential for converting curious visitors into real conversations.
The good news is that you do not need to hire a developer or pay for an expensive subscription to get one up and running. In this guide, you will learn how to create a free contact form for your website using Embeddable, a no-code widget builder that lets you design, configure, and embed a fully functional contact form widget in a matter of minutes.
What You Will Build
By the end of this tutorial, you will have:
- A fully designed contact form for your website with name, email, subject, and message fields
- Custom styling that matches your brand colors and typography
- Email notification delivery so you receive every submission directly in your inbox
- A redirect or confirmation message shown to users after they submit
- An embed code that works on WordPress, Webflow, Squarespace, Framer, Wix, or virtually any other platform
- A free contact form for website visitors that requires no backend infrastructure from you
This entire process takes less than fifteen minutes and costs nothing on Embeddable's free plan.
Why a Contact Form Widget Matters
Before jumping into the steps, it is worth understanding why a dedicated contact form widget outperforms simply listing your email address on a page.
First, listing a raw email address invites spam. Bots crawl pages constantly and harvest addresses for unsolicited campaigns. A contact form acts as a buffer, collecting submissions through a protected endpoint.
Second, a contact form standardizes the information you receive. When someone emails you directly, they might leave out their name, their phone number, or any other detail you need to respond effectively. A form with required fields solves that immediately.
Third, a properly embedded contact form keeps visitors on your site. Instead of opening an email client and leaving your page, users stay in the browser and complete a short form. That reduces friction and increases the likelihood they actually reach out.
If you are also thinking about adding other interactive elements alongside your form, check out the broader overview of embeddable forms to see how contact forms fit into a wider engagement strategy.
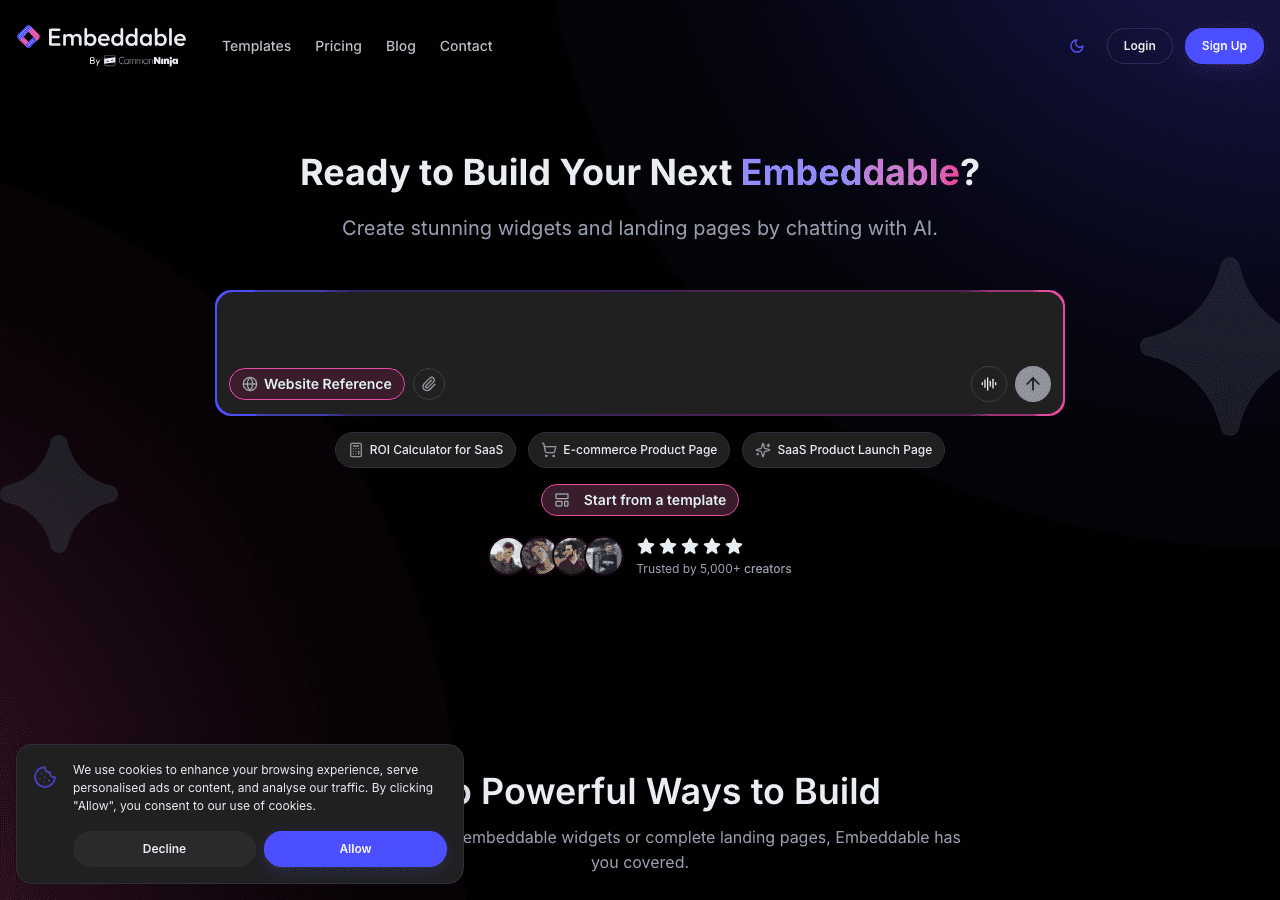
Step 1: Create a Free Embeddable Account
Go to embeddable.co and sign up for a free account. No credit card is required. The free plan gives you access to the full editor, email notifications, and embed code generation, which is everything you need to create and publish a free contact form for website use.
Once you are logged in, you will land on your dashboard where you can create and manage all of your widgets.
Step 2: Start a New Contact Form Widget
From your dashboard, click "Create New Widget." You will see a library of widget types. Select "Form" from the category list. Embeddable will present you with several form templates, including a clean contact form template designed specifically for collecting visitor inquiries.
Choose the contact form template to load it into the editor. The template comes pre-built with the most common fields: Name, Email, Subject, and Message. You can keep these defaults, remove any you do not need, or add new fields depending on what information matters to your business.
The editor is split into a live preview on the right and a settings panel on the left. Every change you make in the settings panel updates the preview in real time, so you always know exactly what your visitors will see.
Step 3: Configure Your Form Fields
Click on any field in the preview to select it and edit its properties in the left panel. For each field, you can adjust:
- Label text: What visitors see above the input, such as "Your Name" or "How can we help?"
- Placeholder text: The greyed-out hint text inside the input field
- Required toggle: Whether the field must be filled before the form can be submitted
- Field type: Text, email, phone number, dropdown, checkbox, textarea, and more
For a standard website contact form, the recommended setup is:
- Name (short text, required)
- Email (email type, required, so the format is automatically validated)
- Subject (short text or dropdown, optional)
- Message (textarea, required)
To add a new field, click the "Add Field" button in the left panel and choose the field type from the dropdown. To reorder fields, drag them up or down in the field list. To delete a field you do not need, click the trash icon next to it.
If your business needs more specific information, consider adding a dropdown field for inquiry type, a phone number field for clients who prefer a call, or a file upload field if you need visitors to send documents. Embeddable's form widgets support all of these field types on the free plan.
Step 4: Style the Form to Match Your Brand
One of the biggest advantages of building your contact form widget with Embeddable is the styling control. Switch to the "Design" tab in the left panel to access all visual settings.
Here you can adjust:
- Colors: Set the background color of the form, the border color of input fields, the button background, and the button text color
- Typography: Choose your font family, font size, and font weight for labels, placeholder text, and the submit button
- Border radius: Make inputs square, slightly rounded, or fully pill-shaped
- Button text: Change the default "Submit" label to something more specific, like "Send Message" or "Get in Touch"
- Spacing and padding: Control how much breathing room exists around the form elements
Getting the styling right is important because a form that looks out of place on your website creates friction. Visitors should feel like the contact form is a natural part of your site, not a foreign element dropped in from another tool.
If you are working on matching a specific design system, Embeddable's customization options are deep enough to get very close to your existing brand guidelines without writing a single line of CSS.
Step 5: Set Up Email Notifications
This step is critical. Without email notifications, you will not know when someone submits your contact form. Navigate to the "Settings" tab in the left panel and find the "Email Notifications" section.
Enter the email address where you want to receive form submissions. You can add multiple addresses if your submissions need to go to a team or a shared inbox. For each notification, you can configure:
- Subject line: The subject of the email you receive, such as "New contact form submission from [Name]"
- Reply-to field: Set this to the visitor's email address so you can reply directly to their message without copying their email from the body of the notification
Embeddable handles all the email delivery infrastructure on the backend. You do not need to configure SMTP settings or connect a third-party email service. The notifications arrive reliably as long as you have entered a valid address.
You can also configure a confirmation email that gets sent automatically to the person who submitted the form. This is a small but professional touch that lets visitors know their message was received. The confirmation email can include a custom subject line and body text that you write directly in the settings panel.
For more advanced email workflows, Embeddable supports integrations with Mailchimp, HubSpot, and other marketing tools. You can read about those options in the integrations documentation.
Step 6: Configure the Success State
After a visitor submits the form, something needs to happen to let them know it worked. In the "Settings" tab, find the "After Submission" section. You have two options:
- Show a success message: The form is replaced with a confirmation message you write. For example, "Thank you for reaching out. We will get back to you within one business day."
- Redirect to a URL: After submission, the visitor is sent to another page on your site, such as a dedicated "Thank You" page.
The success message option is the simpler choice and works well for most websites. If you have a thank you page already set up, the redirect is a great way to keep visitors engaged with your content or show them a special offer.
Step 7: Preview and Test Your Form
Before you embed anything on your live website, test the form thoroughly. Use the preview in the editor to submit a test entry. Check your inbox to confirm the notification email arrives correctly. Verify that the confirmation email (if you set one up) is sent to the address you submitted.
Test the form validation by leaving required fields empty and trying to submit. The form should block the submission and show appropriate error messages beneath each required field.
Also test with an invalid email format in the email field. Embeddable automatically validates email fields, so if a visitor types "john at example dot com" instead of a proper email address, the form will catch the error before submission.
Once everything looks and works exactly as you want, you are ready to embed it on your website.
Step 8: Get the Embed Code and Add It to Your Website
Click the "Publish" button in the top right corner of the editor. Embeddable will generate your embed code, which is a short snippet of HTML that you copy and paste into any web page. The code looks similar to this:
<div id="embeddable-widget-XXXXX"></div>
<script src="https://cdn.embeddable.co/widget.js"></script>
To embed the contact form on your website, paste this snippet wherever you want the form to appear. Every major platform supports this:
- WordPress: Paste into a Custom HTML block in the Gutenberg editor, or use the Classic Editor's HTML view
- Webflow: Add an Embed element to your page and paste the code
- Squarespace: Use a Code Block in any section
- Framer: Use an Embed component
- Shopify: Paste into your theme's Liquid template or use a Custom HTML section in the page editor
- Wix: Add an HTML iframe element from the Wix editor
For platform-specific instructions, Embeddable's documentation covers many website builders in detail, including WordPress, Webflow, Squarespace, and Framer.
The contact form widget is fully responsive by default, so it adapts automatically to mobile, tablet, and desktop screen sizes without any extra configuration.
Alternatives Worth Knowing About
Embeddable is the fastest and most flexible way to create a free contact form for website use, but a few other tools in this space are worth mentioning so you can make an informed decision.
Common Ninja
Common Ninja is a solid second option for building a contact form widget. It offers a wide library of widgets including forms, and it integrates with most website builders through a plugin or embed code. Common Ninja's free plan includes basic form functionality, though some advanced features like conditional logic and more submission storage are locked behind paid tiers. The interface is clean and the widget library is broad, making it a reasonable choice if you want a contact form alongside other widget types from a single provider.
Jotform
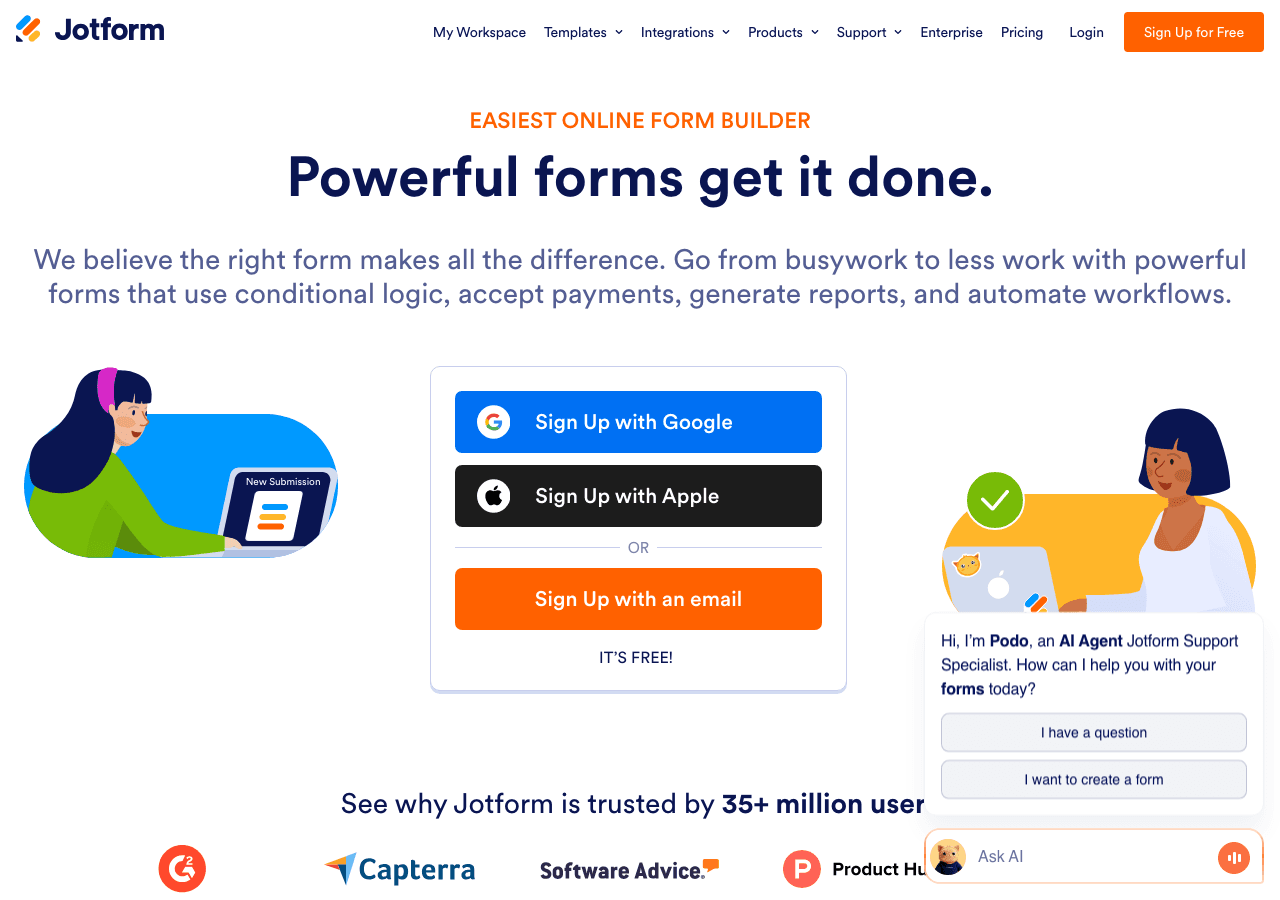
Jotform is a well-established form builder with a generous free plan that allows up to five forms and one hundred monthly submissions. It has a drag-and-drop editor with a large selection of field types and themes. The free tier does include Jotform branding on your forms, which can feel inconsistent with your site's design. For embedding a contact form specifically, Jotform works, but the interface is more complex than necessary for a simple use case, and the submission limit can become a problem for busier websites.
Elfsight
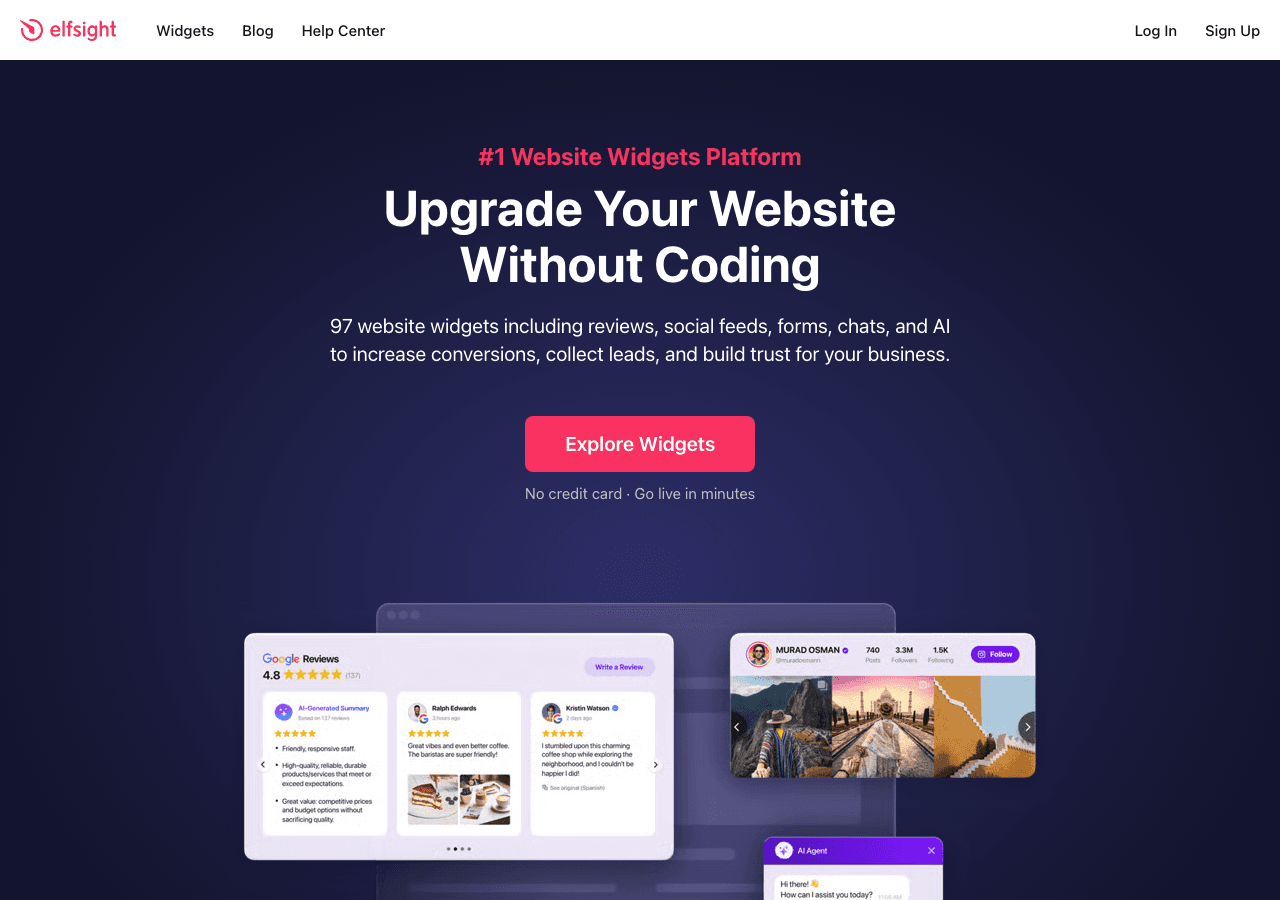
Elfsight offers a contact form widget as part of its broader widget marketplace. The free plan is quite limited, capping you at two hundred monthly views across all widgets, which a moderately trafficked website can exhaust quickly. Elfsight widgets also display the Elfsight branding on the free tier. The styling options are decent but not as granular as what Embeddable provides, particularly for typography and spacing control.
Involve.me

Involve.me focuses more on interactive experiences like quizzes and multi-step forms rather than simple contact forms. It can be used to build a contact form, but the tool is oriented toward lead generation flows and outcomes-based forms. If you want a straightforward single-page contact form, Involve.me might be more tool than you need. The free plan has submission and view limits, and the branding appears on free embeds.
Common Mistakes to Avoid
Building a contact form is straightforward, but a few recurring mistakes can undermine the experience for your visitors or make the form less useful for you.
Asking for too much information. Every additional field you add reduces the likelihood that a visitor completes the form. For a standard contact form, name, email, and message is usually enough. Add more fields only if that information is genuinely necessary before you can respond.
Not setting required fields correctly. If the email field is not required, visitors can submit the form without giving you a way to reply. Always mark the email field as required.
Forgetting to test email notifications before going live. It is surprisingly easy to publish a form, receive submissions for weeks, and then discover the notification email was going to a typo'd address. Test the full submission flow from a different browser before you call it done.
Ignoring the mobile experience. Most web traffic comes from mobile devices. A contact form that looks fine on desktop but has tiny text, cramped inputs, or a button that is hard to tap on mobile will lose submissions. Always check the mobile preview before publishing.
No spam protection. Embeddable includes built-in spam filtering to prevent bot submissions. If you use another tool, make sure it offers honeypot fields or CAPTCHA support, otherwise your email inbox can fill up with automated junk.
Not providing a confirmation message. After a visitor submits the form, silence is disconcerting. Always configure a success message or redirect so visitors know their submission went through.
Using generic button text. "Submit" is one of the least inviting words in web design. Change the button label to something active and specific like "Send Your Message" or "Get in Touch." It is a small change that can meaningfully improve conversion rates.
Burying the form. A contact form that requires visitors to scroll through three pages to find is not helping anyone. Place your free contact form for website visitors in a prominent location, either on a dedicated Contact page or as a section near the bottom of important pages.
Conclusion Checklist
Before you publish your free contact form for website visitors, run through this checklist:
- All required fields are marked correctly, especially email
- The form styling matches your website's colors and typography
- Email notifications are configured and tested
- A confirmation message or redirect is set up for after submission
- The embed code has been pasted into the correct location on your site
- You have tested the form on both desktop and mobile
- The submit button has clear, action-oriented text
- Spam protection is active
If all of those boxes are checked, you have a fully functional, professional-looking contact form widget live on your website, for free.
Getting a contact form up should be one of the first things you do when launching or updating a website. It takes minutes with the right tool, and it immediately opens a channel between you and your visitors that you would otherwise be missing.
Ready to build yours? Head over to Embeddable's free contact forms page to start building your free contact form widget today. No credit card, no coding, and no limits on what you can create.
Build Any Widget with AI in Seconds
Forms, calculators, quizzes, popups & any custom widget — describe it and AI builds it.
Try It FreeFree tier · No credit card