How to Create RSVP Forms for Events (Free, No-Code Guide)


Whether you are planning a corporate conference, a wedding, a community fundraiser, or a simple birthday party, knowing how many people will show up is non-negotiable. A well-designed RSVP form is the backbone of any successful event. It saves you from over-ordering food, scrambling for last-minute seating arrangements, and sending follow-up emails to guests who gave you a vague "maybe."
This guide walks you through exactly how to build a free RSVP form online using Embeddable, a no-code widget builder that lets you create and embed interactive forms on any website in minutes. By the end, you will have a polished event registration form ready to collect guest responses, capture dietary preferences, handle plus-ones, and notify you the moment someone submits.
What You Will Build
By following the steps in this tutorial, you will end up with:
- A fully functional RSVP form online that collects attendee names, email addresses, and attendance confirmations
- Fields for guest count, dietary restrictions, and custom questions specific to your event
- A confirmation message that displays immediately after someone submits
- Email notifications sent to you when a new RSVP comes in
- An embeddable RSVP widget that works on any website, including WordPress, Squarespace, Webflow, Wix, and more
- A mobile-responsive form that looks great on every device
No coding is required at any point. Everything is handled through Embeddable's visual editor.
Why Your RSVP Form Matters More Than You Think
Most event organizers underestimate the role a well-designed event RSVP form plays in the overall attendee experience. A clunky form with too many fields, confusing navigation, or no confirmation message creates friction from the very first interaction. Guests who encounter a bad form are more likely to abandon the process entirely and follow up informally, which defeats the purpose.
A free RSVP form built with the right tool, on the other hand, sets a professional tone from the start. It signals that you are organized, that the guest's information is being handled properly, and that they can expect a smooth event. It also gives you data you can act on: attendance numbers, special requirements, meal preferences, and more.
If you are embedding the form on your event website or landing page, you also have the opportunity to keep the visitor in your ecosystem rather than sending them to a third-party page. An embedded rsvp widget keeps the experience seamless and on-brand.
Step 1: Sign Up and Start a New Widget on Embeddable
Head to Embeddable and create a free account. Once you are logged in, you will land on your dashboard. Click "New Widget" to get started.
Embeddable offers a variety of widget types. For an RSVP form, you will want to select the Form widget. You can either start from a blank canvas or choose one of the pre-built templates. If you want to move quickly, look for an event-related template and customize it from there. If you prefer full control, start from scratch.
Give your widget a name that makes sense internally, something like "Spring Gala RSVP 2026" so you can find it easily later.
Step 2: Add Your Core RSVP Fields
Once you are inside the visual editor, you will see a drag-and-drop interface on the left and a live preview on the right. This is where you build the actual rsvp form fields.
Start with the essential fields every event registration form needs:
Full Name: Add a short text field and label it "Full Name" or "Your Name." Mark it as required.
Email Address: Add an email field. This is critical, as it is how you will send confirmation emails and follow-up information. Mark it required.
Will you attend?: Add a radio button or dropdown field with options like "Yes, I will attend," "No, I cannot make it," and optionally "Maybe." This is the core of any event RSVP, so keep the wording clear and direct.
Number of Guests: If your event allows plus-ones or family attendance, add a number field or a dropdown with options like "Just me," "2 people," "3 people," and so on. You can set a maximum based on your capacity.
Dietary Restrictions or Preferences: Add a checkbox group with options like "Vegetarian," "Vegan," "Gluten-Free," "No restrictions," and "Other." You can also add a short text field below labeled "Please specify" for custom dietary notes.
Additional Notes or Questions: Add an optional textarea field where guests can leave any special requests or questions. This is particularly useful for weddings or gala events where guests may have specific needs.
As you add each field, you can reorder them by dragging, edit their labels, set placeholder text, and toggle whether they are required. The live preview updates instantly so you always see exactly what your guests will see.
Step 3: Customize the Design to Match Your Event
A generic-looking form can undercut an otherwise well-designed event page. Embeddable's editor lets you control the visual appearance of your rsvp widget without touching any code.
In the design settings panel, you can adjust:
Colors: Set your background color, input field colors, button colors, and label text colors. If you have an event brand color, match the submit button to it for a cohesive look.
Typography: Choose your font family and sizes. Serif fonts tend to work well for formal events like weddings or galas, while sans-serif fonts feel more modern and work well for corporate or tech events.
Button text: Change the default "Submit" text to something more appropriate for your event context. "Confirm My RSVP," "Count Me In," or "Register Now" all work well and add a small but meaningful personal touch.
Form width and padding: If you are embedding the form in a sidebar or a narrow column, you can adjust the layout so it does not feel cramped.
Header and intro text: Add a short headline at the top of the form, like "RSVP for the 2026 Spring Gala" followed by a sentence or two explaining the event date, location, and any submission deadline. This keeps the form self-contained so guests do not need to scroll elsewhere for context.
Take a few minutes here. A well-styled form builds confidence in the guest that the event itself will be equally well-organized.
Step 4: Set Up the Confirmation Message
After someone submits your event rsvp form, they need immediate feedback confirming their response was received. Without this, guests will wonder if the form worked and may submit multiple times or contact you directly.
In the form settings, locate the "Success Message" or "Confirmation" section. Write a message that:
- Thanks the guest by name if your platform supports dynamic fields (Embeddable does allow you to reference submitted values in some configurations)
- Confirms what they selected (attending or not attending)
- Provides the next steps, such as "You will receive a confirmation email with event details shortly"
- Includes the event date and location as a reminder
A sample confirmation message might read: "Thank you for your RSVP. We have received your response and look forward to seeing you on April 12th at the Grand Ballroom. Watch your inbox for a confirmation email with full event details."
If conditional logic is relevant to your event, for example if you want to show a different message to guests who said they cannot attend, Embeddable's logic features let you route to different outcomes based on form answers.
Step 5: Connect Notifications and Integrations
A free rsvp form is only as useful as the data it sends you. Embeddable supports a range of integrations that connect your form submissions to the tools you already use.
Email notifications: Set up instant email alerts so you receive a notification every time someone submits the rsvp form online. Include the key fields (name, attendance status, guest count) in the notification body so you can scan responses quickly without logging into the dashboard every time.
Google Sheets: If you want to maintain a running guest list in a spreadsheet, connect your form to Google Sheets via Embeddable's Google Sheets integration. Every submission will automatically populate a new row with all the field values. This is by far the easiest way to manage your attendee list without any manual data entry.
Mailchimp or Klaviyo: If you are using an email marketing platform to send event reminders, connect the form to your Mailchimp or Klaviyo list. Confirmed attendees can be automatically added to a specific audience segment so you can send targeted follow-ups, directions, schedule updates, and post-event communications.
HubSpot: For corporate events where attendees are also leads or contacts in your CRM, the HubSpot integration will create or update contact records automatically every time someone submits the form.
Webhook: For more advanced workflows, use a webhook to send submission data to any external system or automation platform.
Setting up at least the email notification and Google Sheets connection is strongly recommended. Together, they give you real-time awareness and a clean running record of all RSVPs.
Step 6: Publish and Embed Your RSVP Widget
Once your form is designed, configured, and connected, it is time to get it in front of your guests. Embeddable gives you a simple embed code that works on virtually any website or CMS.
Click the "Publish" button in the top right of the editor. Embeddable will generate an embed snippet, typically a short JavaScript snippet or iframe, that you copy and paste into your event page.
For common platforms:
WordPress: Paste the embed code into a Custom HTML block in the Gutenberg editor, or use a classic text widget. See the WordPress platform guide for specifics.
Squarespace: Add a Code block to your page and paste the snippet inside.
Webflow: Add an Embed element to your canvas and paste the code there.
Framer, Wix, Carrd: Each has a custom code or embed element where you can drop the snippet. Check the relevant platform docs if you need guidance for your specific builder.
The rsvp widget will render directly on your event page, fully styled to match whatever customization you applied in the editor. Guests never leave your site to complete the form. This is a significant advantage over sending guests to an external rsvp form online hosted on a separate domain, which can feel disconnected and reduce completion rates.
If you do not have a website at all, Embeddable also provides a shareable hosted page URL for each widget, so you can share a direct link via email or social media.
Step 7: Test Before You Share
Before announcing the form publicly, test it thoroughly.
Submit a test entry using your own email address. Check that:
- All fields save correctly
- The confirmation message appears immediately after submission
- You receive the email notification
- The Google Sheet (or whichever integration you set up) populates a new row
- The form looks correct on mobile, tablet, and desktop browsers
Check the mobile view specifically. A large percentage of your guests will open a link on their phone, and a form that is hard to fill out on a small screen will hurt your response rate significantly. Embeddable forms are mobile-responsive by default, but verify this with your specific configuration.
Once you have confirmed everything works end to end, the form is ready to share.
Alternatives Worth Knowing
If Embeddable does not fit your workflow for some reason, there are other tools that can handle event rsvp and event registration form use cases. Here is a brief look at a few, along with their trade-offs.
Common Ninja
Common Ninja is a widget platform with a solid library of embeddable components, including forms. It integrates with a wide range of website builders and offers reasonable customization options. Common Ninja is a strong second choice for those who want a broad widget ecosystem alongside their RSVP needs.
Jotform
Jotform is one of the most established form builders available. It has a large template library, strong conditional logic, and broad integration support. The downside is that the free plan has submission limits and branding that can feel out of place on a polished event page. For straightforward event registration form needs, Jotform works well, but the interface can feel heavy and complex for simple rsvp use cases.
Elfsight
Elfsight offers a library of website widgets including forms. It is relatively easy to set up and has broad platform compatibility. However, Elfsight's free tier shows its own branding on all widgets, and the form customization options are less deep than what you get with Embeddable. For basic rsvp form online needs, it gets the job done, but you may hit limits quickly if your event is large or your design requirements are specific.
Involve.me
Involve.me positions itself as an interactive content builder with forms, quizzes, and surveys. Its forms are visually polished and it supports some conditional logic. It can work well for event registration forms that double as interactive experiences. The trade-off is that it can be overkill for a simple free rsvp use case, and pricing climbs quickly once you move beyond the basic free tier.
Outgrow
Outgrow is primarily built for interactive lead generation content like calculators and quizzes, but it does support forms. Its strength is in branching logic and outcome-based experiences. For a simple event rsvp form, it is likely more tool than you need, and its pricing is oriented toward marketing teams rather than individual event planners.
For most users, Embeddable offers the best balance of ease of use, design flexibility, integration depth, and pricing for building a free rsvp form that embeds cleanly on any site.
Common Mistakes to Avoid
Even with a great tool, there are several patterns that consistently undermine RSVP forms. Avoid these:
Asking for too much information. Every additional field you add reduces your completion rate. Ask only for what you genuinely need to run the event. Name, email, attendance status, and guest count cover 90 percent of use cases. Add dietary fields only if you are providing catering. Resist the urge to turn your rsvp form into a survey.
No confirmation message. Skipping the post-submission confirmation message is one of the most common oversights. Guests who see a blank page or get redirected without acknowledgment will assume the form failed and contact you directly. Always show a clear, friendly confirmation.
Not testing on mobile. As noted above, a form that works beautifully on desktop but breaks on mobile will cost you RSVPs. Always test on a real phone before publishing.
Setting no deadline. An rsvp form online with no stated deadline gets ignored. Always include your RSVP cutoff date prominently in the form header and in any emails where you share the link.
No reminder strategy. Sharing the form once and hoping people submit is wishful thinking. Plan at least one or two reminder communications at one to two weeks before the deadline and again a few days before. Reference the form link directly in each reminder.
Forgetting to track responses. Setting up the form and then not monitoring submissions until the day of the event is a recipe for surprise. Use the Google Sheets integration to maintain a live count and check it regularly as the deadline approaches. If your numbers are low, send a reminder earlier than planned.
Generic subject lines on notification emails. If you are using email to share the rsvp form link, a subject line like "Click here to RSVP" is weak. Personalize it with the event name and date so recipients understand exactly what they are being asked to do.
Embedding on a slow-loading page. Even a perfect rsvp widget will see lower completion rates if the page it lives on takes more than three seconds to load. Keep your event page light and fast.
RSVP Form Checklist Before You Go Live
Before you share your event registration form with guests, run through this checklist:
- All required fields are marked and enforced
- Email and phone fields have proper format validation
- Conditional logic (if any) routes correctly based on answers
- Confirmation message is set and tested
- Email notification arrives within seconds of a test submission
- Google Sheets or CRM integration is populating correctly
- Form looks correct on Chrome, Safari, and Firefox
- Form looks correct on iOS and Android
- RSVP deadline is displayed in the form header
- Embed code is placed correctly on the event page with no layout issues
- Direct link (if needed) is functional and shareable
Once every item on that list is checked, you are ready to share.
Conclusion
A well-built rsvp form is one of the highest-leverage things you can do for your event. It reduces uncertainty, saves hours of manual follow-up, and creates a professional first impression for every guest. With Embeddable, you can build a polished, fully integrated event rsvp widget in under an hour, for free, without writing a single line of code.
The process comes down to six core steps: set up your form fields, style it to match your event, configure the confirmation message, connect your integrations, embed it on your event page, and test everything before going live.
If you are ready to get started, head to the free RSVP forms page on Embeddable to explore templates and start building. You can also explore the broader form widgets library if you need additional form types for registration, contact, or lead capture alongside your event RSVP.
Your next event will run smoother because you took the time to get this right.
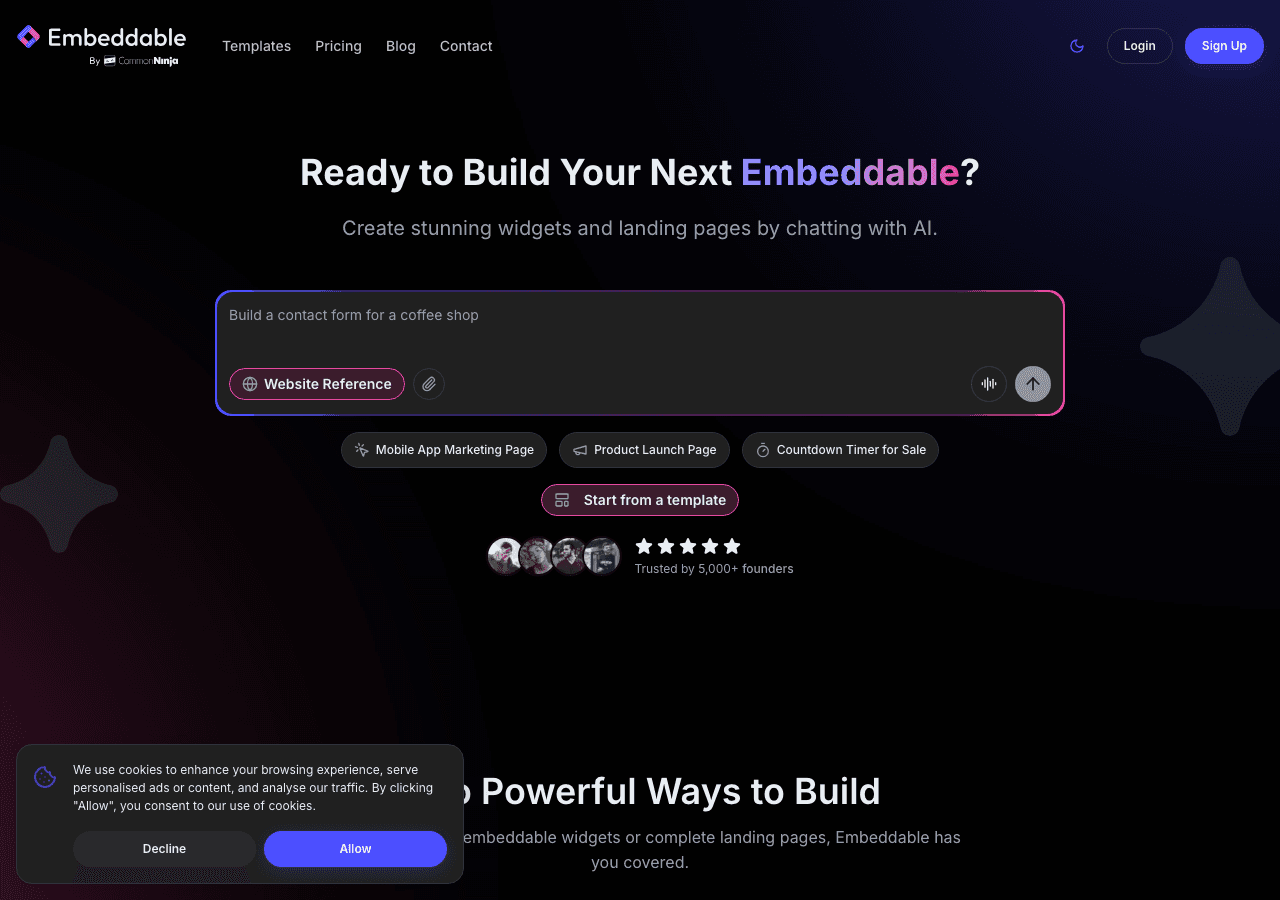
Build Any Widget with AI in Seconds
Forms, calculators, quizzes, popups & any custom widget — describe it and AI builds it.
Try It FreeFree tier · No credit card