How to Build a Free Audio Player for Your Website (Step-by-Step Guide)

Whether you run a podcast, music blog, online course, or any content-driven website, having a clean, functional audio player embedded directly on your pages makes a significant difference. Visitors stay longer when they can listen without leaving, and you keep full control over the experience rather than sending people off to Spotify or SoundCloud.
The problem is that most audio player solutions either look generic, require coding knowledge, or lock the best features behind expensive plans. This tutorial walks you through building a free, fully customized audio player for your website using Embeddable — a no-code widget builder that gives you real design control without writing a single line of code.
By the end of this guide, you will have a working audio player embedded on your website that looks professional and loads fast.
What You Will Build
Following this tutorial, you will end up with:
- A fully functional audio player widget embedded on any page of your website
- Custom styling that matches your brand colors, fonts, and layout
- Support for single tracks or playlists
- A responsive player that works on mobile and desktop
- An embeddable snippet you can drop into any website builder including WordPress, Webflow, Squarespace, Framer, Shopify, and more
- Optional lead capture or CTA integration alongside the player
This is not a basic HTML5 audio tag. You are building a polished, interactive component that you can update at any time without touching your website's code again.
Why a Custom Audio Player Matters
Before jumping into the steps, it is worth understanding why this is worth doing properly. A native browser audio player is functional but ugly. It uses different styling across Chrome, Firefox, and Safari, so your player looks different depending on who visits your site. Embedding from third-party platforms like Spotify or SoundCloud means handing your audience to someone else's ecosystem, complete with their branding and recommended content.
A custom audio player widget gives you consistency, branding, and full control. For podcasters, it means listeners can press play right on your website instead of being redirected. For musicians, it means your tracks play in a context you designed. For course creators, it means your audio lessons are part of a cohesive learning experience.
Now let us build it.
Step 1: Create a Free Embeddable Account
Go to Embeddable.co and create a free account. The signup process takes under a minute. No credit card is required for the free plan, which includes everything you need to build and embed a working audio player.
Once you are logged in, you will see the main dashboard. This is where all of your widgets live, and where you will create your audio player from scratch.
Step 2: Start a New Widget
From the dashboard, click the button to create a new widget. You will be taken to the Embeddable editor, which is an AI-assisted, no-code builder. You have two options here:
- Start from a template specifically designed for audio players
- Describe what you want using the AI prompt and let Embeddable generate an initial layout for you
For most users building an audio player, the second option is faster. Type something like: "Build an audio player widget with a play/pause button, progress bar, volume control, and track title display." The editor will generate a base layout you can immediately start customizing.
If you prefer to browse templates first, Embeddable offers a range of free audio player widgets that you can use as a starting point.
Step 3: Add Your Audio Files
Once you have a base layout, the next step is connecting your actual audio content. In the Embeddable editor, you can:
- Upload audio files directly to the widget
- Paste in a URL pointing to an externally hosted audio file (MP3, WAV, OGG, and other common formats are supported)
- Add multiple tracks if you are building a playlist-style player
For most website owners, hosting your audio files on a service like Amazon S3, Cloudflare R2, or even Google Drive (with a direct link) and then referencing those URLs in Embeddable is the most practical approach. This keeps your audio files separate from your widget builder and gives you flexibility to swap tracks later.
When adding tracks, you can also fill in metadata fields including track name, artist name, album art or thumbnail image, and duration label. These fields feed directly into the visual display of your player, so the more complete your track data, the better your player looks.
Step 4: Customize the Player Design
This is where Embeddable really stands out compared to basic embed tools. The visual editor gives you direct control over every design element:
Layout and structure: Choose between a compact single-track player, a full-width banner player, or a playlist-style player that lists multiple tracks. You can adjust padding, spacing, and the overall container width to fit your page layout.
Colors and typography: Set your background color, text color, button color, progress bar fill color, and icon color to match your brand. If your site uses a dark theme, you can create a dark-mode audio player in seconds.
Play controls: The default setup includes play/pause, skip forward, skip backward, and volume controls. You can show or hide any of these depending on what your use case requires. A simple podcast player might only need play/pause and a scrubber. A music player might want the full set of controls.
Progress bar: Customize the height, color, and style of the progress bar. You can also enable a clickable scrubber so visitors can jump to any point in the track.
Album art display: For music players, you can display a thumbnail image alongside the track information. This adds visual richness and makes the player feel more like a proper media product.
Mobile responsiveness: Embeddable builds responsive widgets by default. Your audio player will reflow properly on smaller screens without any additional configuration. You can preview the mobile layout directly in the editor using the device preview toggle.
As you make changes, the editor updates in real time so you can see exactly how the final widget will look before publishing. This is one of the main advantages of building with a dedicated widget builder rather than writing custom HTML and CSS. For more on the range of design options available, the best audio player widgets for 2025 roundup covers what leading players look like in practice.
Step 5: Configure Playback Settings
Beyond the visual design, there are a few playback behaviors you will want to configure:
Autoplay: Decide whether the player starts automatically when someone visits the page or waits for the visitor to press play. Autoplay is generally not recommended for most sites because it can be disruptive, and many browsers block it by default. Leaving it off is almost always the right call.
Loop: For background music or ambient audio, you may want the track to loop continuously. Toggle this on in the settings panel.
Playlist behavior: If you have multiple tracks, configure whether the player moves to the next track automatically after each one finishes. You can also enable shuffle mode for playlist-style players.
Default volume: Set the initial volume level so the player does not blast audio at visitors who have their speakers turned up.
These settings are all accessible through the widget settings panel in the Embeddable editor without touching any code. If you want to understand how Embeddable's editor works in more depth, the getting started documentation is a good reference.
Step 6: Add Optional Integrations
One of the advantages of building your audio player with Embeddable rather than a basic HTML solution is the ability to connect it to other tools. Depending on your goals, you might want to:
Collect email addresses from listeners: You can add an email capture form element alongside the player. Connect it to Mailchimp, HubSpot, or Klaviyo directly through the integrations panel to send new subscribers straight into your email list.
Track plays in analytics: Connect to Google Analytics or Mixpanel to log play events, letting you see which tracks get the most engagement.
Send play notifications: Use the Slack integration or a webhook to trigger notifications whenever someone interacts with your player. This is more useful for gated audio content than public-facing players, but the option is there.
These integrations are configured without code using the integrations panel in the editor. They turn your audio player from a static media element into a data-connected component of your marketing or content stack.
Step 7: Publish and Get Your Embed Code
When you are satisfied with your player's design and configuration, click Publish. Embeddable generates a small JavaScript embed snippet that you copy and paste into your website.
The embed code looks like a single script tag. You drop it anywhere on your page where you want the player to appear. The widget loads asynchronously, meaning it does not slow down the rest of your page's load time.
For platform-specific instructions:
- WordPress: Paste the embed code into an HTML block using the block editor
- Webflow: Use an Embed element in the Webflow designer
- Squarespace: Use a Code Block in the page editor
- Framer: Use the Embed component
- Shopify: Paste into a Custom HTML section or a theme file
The process is the same across all platforms: copy the snippet from Embeddable, paste it where you want the player. That is it. The how to get the embed code documentation walks through this in detail if you need guidance.
Step 8: Update Your Player Without Re-Embedding
One of the most practical features of building with Embeddable is that changes to your widget publish immediately without you needing to touch your website again. If you want to swap out a track, change the color scheme, add a new song to your playlist, or adjust any setting, you do it in the Embeddable editor and click Publish. The embed code on your site does not change. The update just appears.
This is particularly valuable for podcasters who publish new episodes regularly, or for musicians who want to rotate which tracks are featured. You update the widget once, and every page it is embedded on reflects the change automatically. See how publishing changes works in the how to publish changes guide.
Alternatives Worth Knowing About
Embeddable is the best option for building a free, customizable audio player, but there are a few other tools in this space worth mentioning.
Elfsight
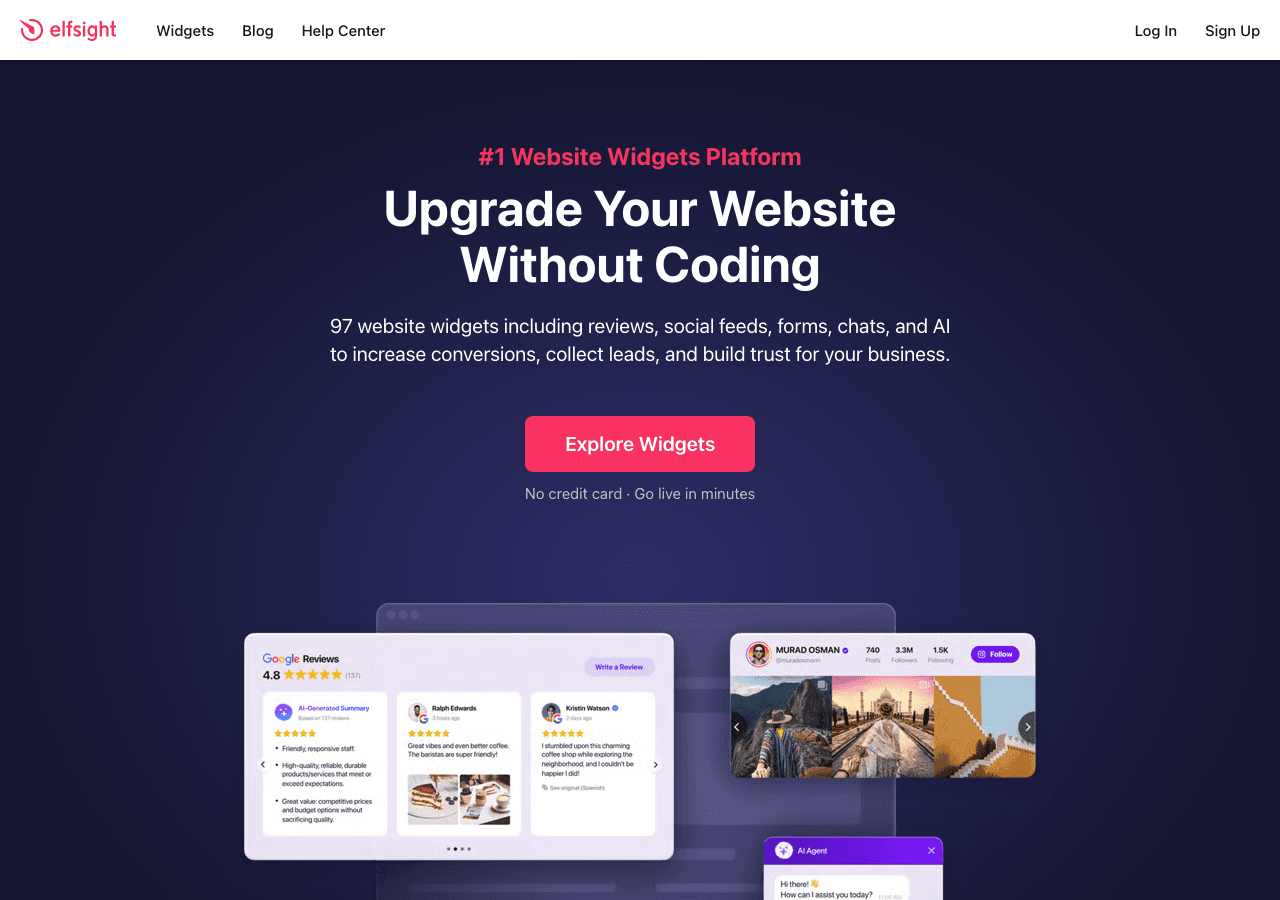
Elfsight offers a library of embeddable widgets including an audio player. The interface is straightforward and works well for simple use cases. The free tier is limited in terms of monthly views and customization depth, and you will hit the paywall fairly quickly if your site gets any meaningful traffic. The design options are more constrained compared to what Embeddable offers.
Jotform
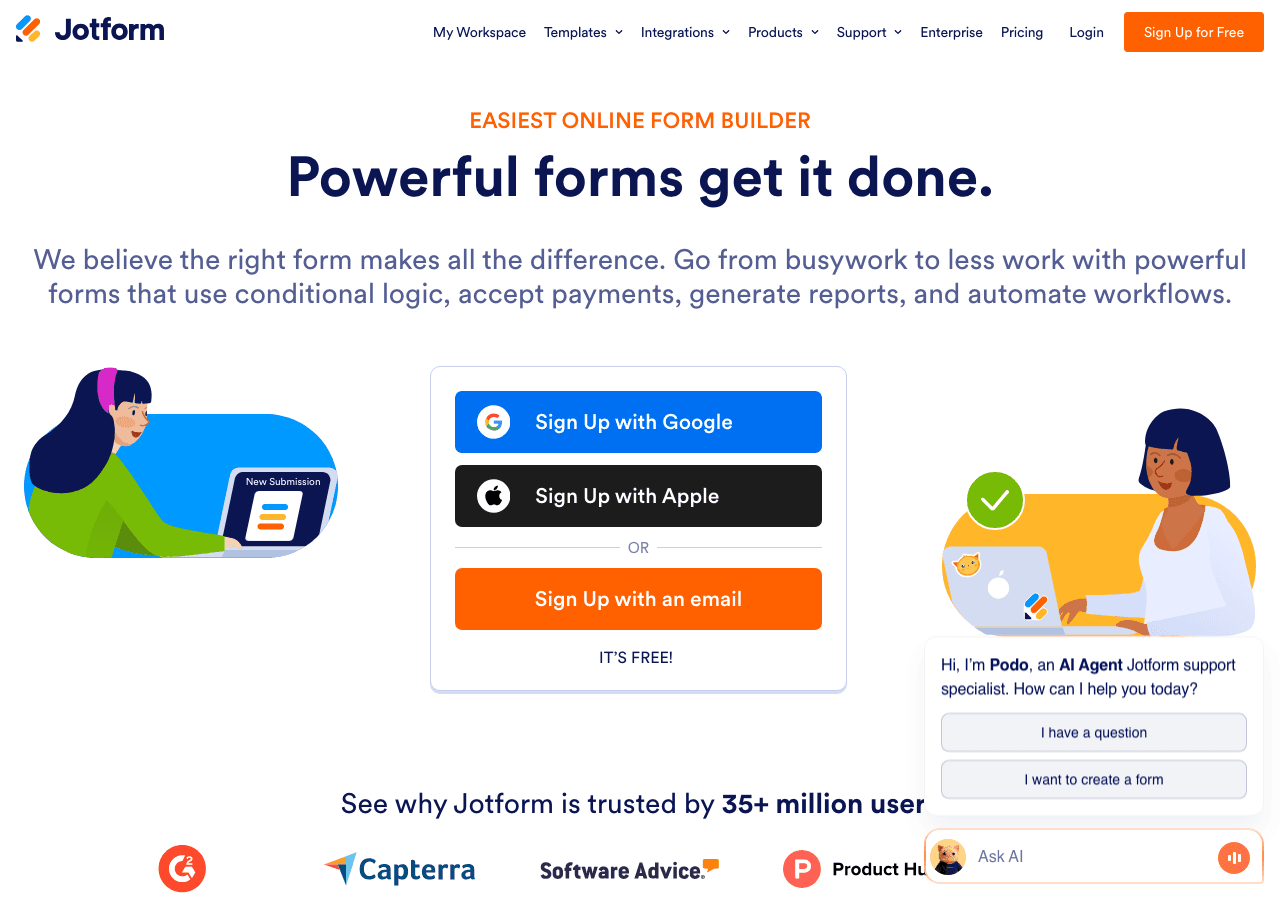
Jotform is primarily a form builder, but it includes audio recording and playback elements that can be embedded. It is a reasonable option if your primary goal is collecting audio responses from users rather than playing audio to them. For straightforward playback use cases, it is not the most natural fit. The audio player functionality feels like a secondary feature rather than a purpose-built tool.
Outgrow
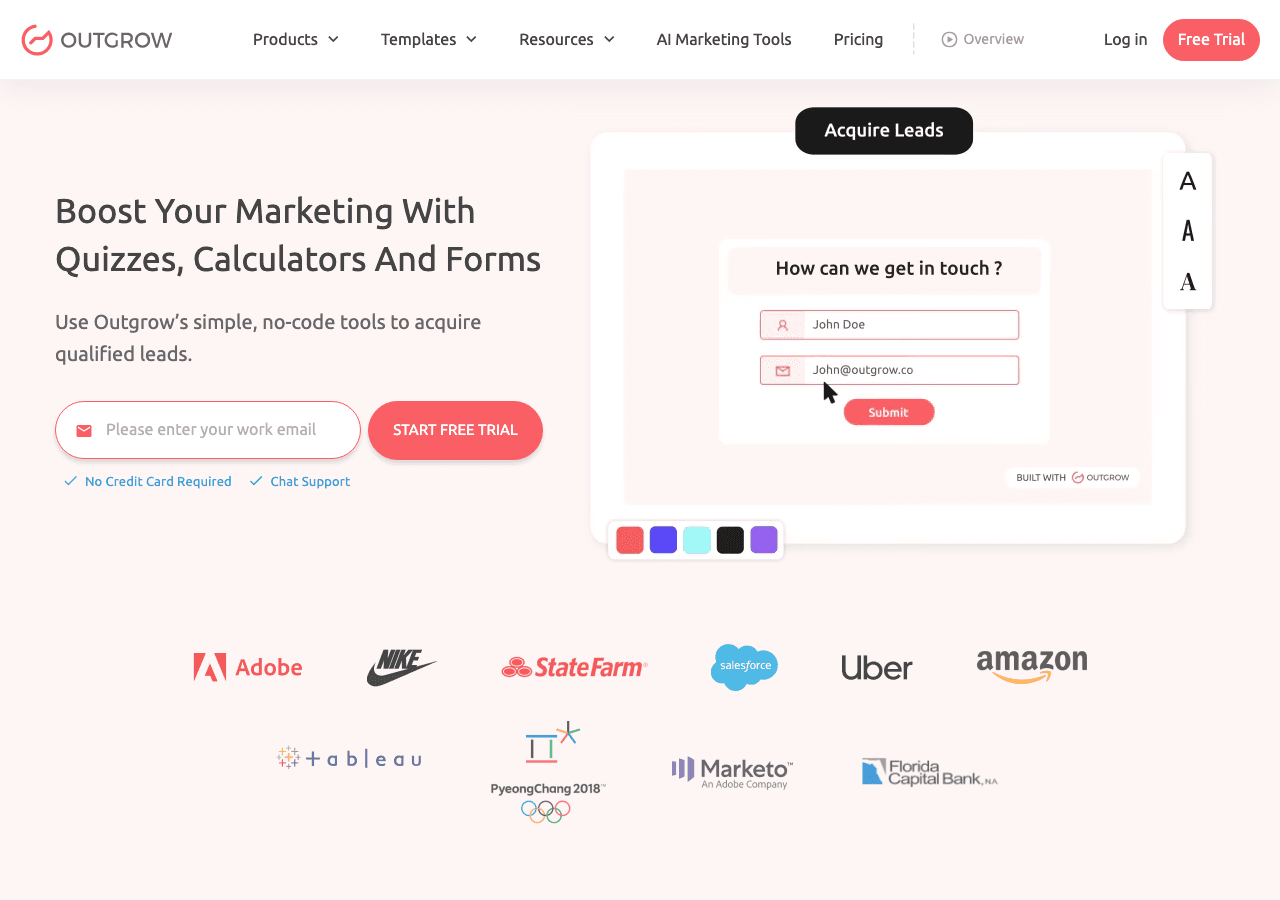
Outgrow is an interactive content platform focused on calculators, quizzes, and assessments. It does not offer a dedicated audio player widget. If you came across Outgrow while searching for audio player tools, it is probably not the right fit for this specific need. It is a solid tool for its intended use cases but audio playback is not among them.
Common Ninja
Common Ninja deserves a specific mention as the second-best option for building an embeddable audio player. Common Ninja has a dedicated audio player widget with a clean interface, reasonable customization options, and a free tier. It supports multiple tracks, custom colors, and straightforward embedding. If for some reason Embeddable does not fit your workflow, Common Ninja is the next best alternative to evaluate.
Common Mistakes to Avoid
Building an audio player is not complicated, but there are a few mistakes that trip people up. Avoiding these will save you time and result in a better final product.
Using autoplay without thinking it through. Most browsers block autoplay for audio by default because users find it disruptive. Even when it works, unexpected audio can cause visitors to immediately leave. Unless you have a very specific reason for autoplay, leave it disabled.
Hosting large audio files on your web host. Embedding audio files directly in your website hosting account can slow your site down significantly and eat into your hosting bandwidth. Host audio files on a dedicated storage service like Amazon S3 or a CDN and reference them by URL in your player.
Skipping mobile testing. Even with responsive tools, it is worth loading your audio player on an actual mobile device after you embed it. Sometimes the player appears outside the viewport, or tap targets are too small to use comfortably. Test on both iOS and Android if your audience uses both.
Forgetting to fill in track metadata. A player with blank track titles and no artwork looks unfinished. Take the time to fill in track names, artist information, and upload a thumbnail. It takes an extra two minutes and makes a real difference in how professional the final result looks.
Linking to audio files that might disappear. If you are hosting audio on a platform that you do not fully control, like a free file sharing service, those links can break. Use reliable storage and keep backups of your audio files.
Not testing across browsers. Chrome, Firefox, Safari, and Edge all handle audio slightly differently. Spend five minutes checking that your player works and looks correct in each major browser before calling it done.
Over-complicating the playlist. If you have more than eight or ten tracks in a player widget, consider whether a dedicated podcast page or playlist page would serve visitors better than a long embedded playlist. Audio players work best when they surface the most relevant content prominently, not when they overwhelm the visitor with choices.
Conclusion Checklist
Before you consider your audio player complete, run through this checklist:
- Audio files are hosted on reliable, persistent URLs
- Track metadata (name, artist, artwork) is filled in for all tracks
- Player colors and typography match your website's branding
- Play controls are configured correctly for your use case
- Mobile layout has been tested on an actual device
- Browser compatibility has been checked in Chrome, Firefox, and Safari
- Autoplay is disabled unless there is a specific reason for it
- Embed code is placed correctly on all pages where the player should appear
- Any integrations (email capture, analytics) are tested and working
- You have verified that the player updates correctly after publishing a change
If you can check every item on that list, you have a production-ready audio player that will serve your visitors well.
Building an embeddable audio player does not require a developer, an expensive plugin, or hours of work. With Embeddable, you can go from zero to a live, customized, responsive player in under thirty minutes. The free plan covers everything most websites need, and if you grow to the point where you need more advanced features like analytics integrations or multi-user collaboration, the paid plans are straightforward.
Ready to get started? Browse the free audio player widget templates and build yours today.
Build Any Widget with AI in Seconds
Forms, calculators, quizzes, popups & any custom widget — describe it and AI builds it.
Try It FreeFree tier · No credit card