Embeddable PDP Widgets: Add Custom Components to Shopify Product Pages (2026 Guide)

Your Shopify product page is doing a lot of heavy lifting. It has to answer questions, build trust, help shoppers make decisions, and ultimately push someone to click "Add to Cart." Yet most Shopify PDPs are still static blocks of text, images, and a price tag. In 2026, that is no longer enough.
Embedding custom widgets on your Shopify product page transforms a passive browsing experience into an interactive one. A size recommendation quiz, a financing calculator, a live review feed, a comparison table, or even a simple countdown timer can dramatically increase the time shoppers spend on a page and the confidence they feel before purchasing.
This tutorial walks you through exactly how to embed custom widgets on Shopify product pages using Embeddable, a no-code widget builder built specifically for this kind of use case. Whether you are running a single-product store or managing hundreds of SKUs, the workflow is the same, and it requires zero coding.
What You Will Build
By the end of this guide, you will know how to:
- Create a custom widget for your Shopify PDP using Embeddable's no-code editor
- Copy your embeddable PDP snippet and paste it into Shopify's theme editor
- Target specific product pages so the right widget appears in the right place
- Avoid the most common mistakes merchants make when they embed widget Shopify integrations
- Understand how alternative tools compare so you can make an informed choice
Why Product Page Widgets Matter in 2026
Before getting into steps, it helps to understand what you are solving. Shopify's default product page template gives you images, a title, a description, variants, and a buy button. That is it. Every piece of friction between "I'm interested" and "I'll buy this" is friction you are responsible for reducing.
Interactive widgets address that friction directly. A calculator widget that shows monthly payment estimates removes the anxiety of a big purchase. A product recommendation quiz helps shoppers who are unsure which variant to pick. A social proof widget displaying recent purchases or review counts builds credibility at the exact moment it is needed.
The Shopify calculator widgets and Shopify quiz widgets available through Embeddable are designed with this conversion logic in mind. They are lightweight, mobile-responsive, and built to embed cleanly into any Shopify theme without breaking your layout.
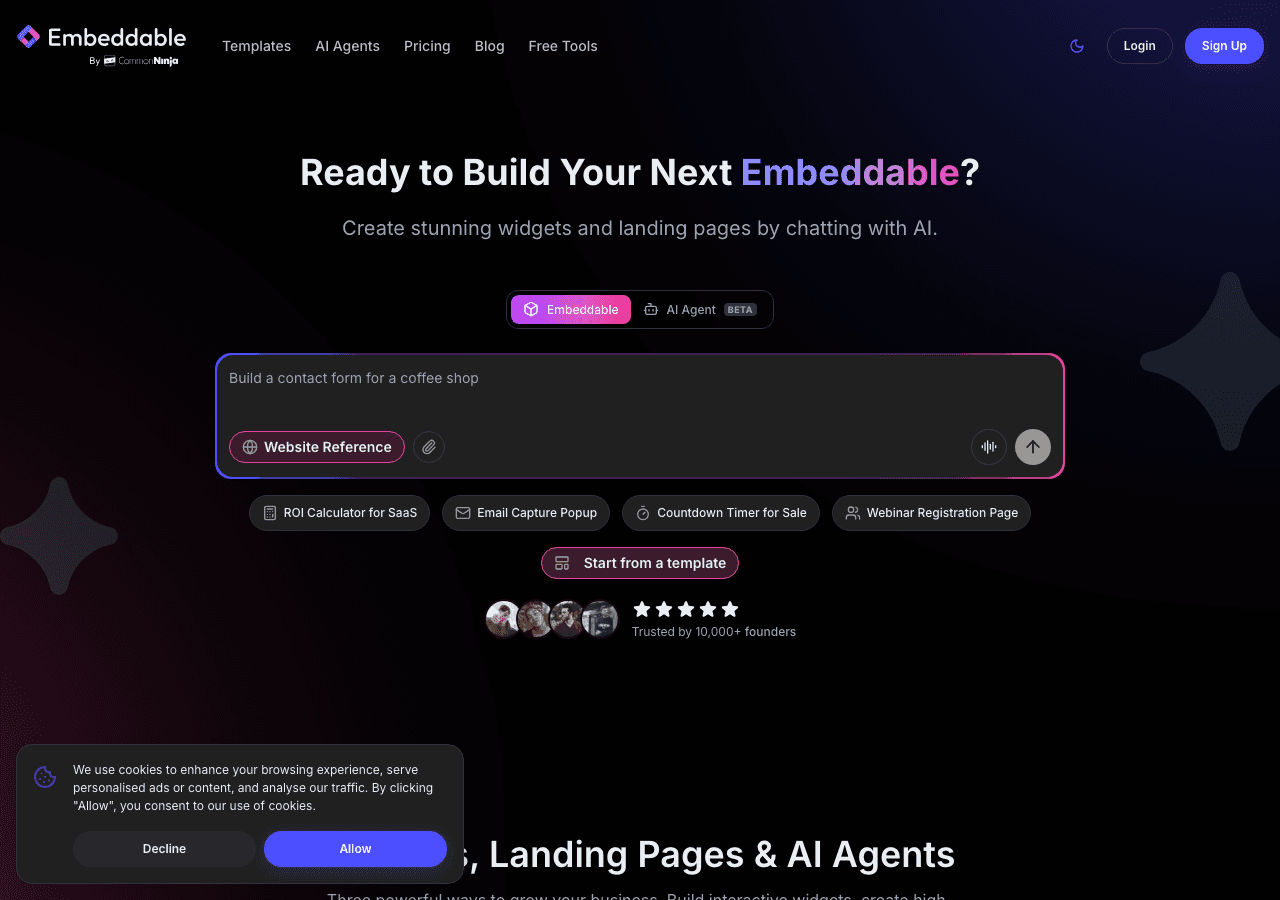
Step 1: Create Your Free Embeddable Account
Go to Embeddable and sign up for a free account. No credit card is required to get started.
Once you are logged in, you will land on the main dashboard, where you can see all your widgets, create new ones, and manage your embed codes. Embeddable supports a wide range of widget types, including calculators, quizzes, forms, popups, testimonial sliders, countdown timers, and more. For Shopify product pages, the most high-impact widget types tend to be:
- Product calculators (financing, savings, ROI)
- Size or fit recommendation quizzes
- Review or testimonial displays
- Comparison tables
- Lead capture or waitlist forms
Start by clicking "Create New Widget" and selecting the widget type that matches your goal.
Step 2: Build Your Widget in the No-Code Editor
Once you select a template or start from scratch, you enter the Embeddable editor. This is where you design, configure, and preview your Shopify widget before it ever touches your store.
Here are a few things to configure during this step:
Design and branding. Use your store's colors, fonts, and button styles. Embeddable lets you control spacing, border radius, background colors, and typography so the widget looks native to your theme rather than bolted on.
Logic and content. For a calculator, define the formula and inputs. For a quiz, write your questions and map outcomes to product recommendations. For a form, set your fields and confirmation message. If you are using Embeddable's AI chatbot widget on a product page, configure the knowledge base with product-specific information.
Integrations. Embeddable connects to tools like HubSpot, Mailchimp, Google Sheets, and Klaviyo. If your widget collects emails or lead information, map those fields to your CRM during this step so data flows automatically. You can review all supported integrations in the Embeddable integrations docs.
Mobile preview. Shopify PDPs get significant mobile traffic. Always toggle to the mobile view in the editor and check that your widget scales correctly. Embeddable widgets are responsive by default, but it is worth confirming layout at smaller breakpoints.
When you are satisfied with the design, click "Publish." This makes the widget live and generates your embed code.
Step 3: Copy Your Embed Code
After publishing, click the "Get Embed Code" button in the Embeddable dashboard. You will see a short JavaScript snippet that looks something like this:
<script src="https://cdn.embeddable.co/widget/YOUR_WIDGET_ID.js" async></script>
<div id="embeddable-widget-YOUR_WIDGET_ID"></div>
Copy this snippet. This is what you will paste into your Shopify theme. The code is asynchronous, meaning it loads without blocking your page's other assets, which is important for Core Web Vitals and page speed on your Shopify PDP.
For more detail on retrieving your embed code, see the how to get the embed code documentation.
Step 4: Open Your Shopify Theme Editor
Log in to your Shopify admin panel. Navigate to "Online Store" and then "Themes." Find your active theme and click "Customize."
This opens Shopify's visual theme editor. In the left sidebar, you will see a list of page templates. Click the dropdown at the top that currently says "Home page" and switch it to "Products" and then "Default product." This loads your product page template in the editor.
In Shopify's theme editor, you have two main ways to embed a custom widget:
Option A: Using a Custom Liquid section. In the left sidebar, click "Add section" and look for a "Custom Liquid" block. If your theme supports it (most 2.0 themes do), you can paste HTML and JavaScript directly into this block. Paste your Embeddable snippet here. This is the easiest path for most merchants.
Option B: Editing the product template file directly. From your Shopify admin, go to "Online Store," then "Themes," then click "Actions" and "Edit code." Find the product.liquid or main-product.liquid file in your Sections folder. Paste your embed snippet at the point in the HTML where you want the widget to appear, such as below the product description or above the buy button.
Option A is recommended if you want to avoid touching code. Option B gives you more precise placement control.
Step 5: Position the Widget on Your Shopify Product Page
Placement matters more than most merchants realize. Where you put the widget on your Shopify PDP directly affects whether shoppers see and use it.
General placement guidelines based on widget type:
- Calculators and financing tools: Place these below the price or near the variant selector. Shoppers are thinking about cost at that moment, and a calculator that shows monthly payments can reduce hesitation immediately.
- Size or fit quizzes: Place these near the size selector or directly below the product title. If someone does not know their size, they are unlikely to add to cart without this.
- Review and social proof widgets: Place below the main product images or at the bottom of the page. Shoppers who scroll down are often looking for reassurance.
- Countdown timers: Place near the buy button. Urgency works when it is visible at the point of decision.
- Lead capture forms: Use a popup trigger or place at the very bottom of the page for products that require consultations or custom orders.
After pasting your embed code, use Shopify's theme editor preview to verify that the widget renders correctly and sits in the right position within your PDP layout.
Step 6: Target Specific Products (Optional but Recommended)
If you have different widgets for different products, you do not want a financing calculator appearing on a $15 product or a size guide widget appearing on a product that has no size variants. Embeddable's targeting feature solves this.
In the Embeddable dashboard, open your widget settings and navigate to the "Target" section. Here you can set rules based on URL patterns. For example, you can set the widget to only display when the URL contains /products/your-product-slug. This means even if your embed code is in the global product template, the widget will only render on the pages you specify.
You can read more about how targeting works in the how to use target documentation.
Step 7: Test Before Going Live
Before announcing anything or driving paid traffic to the page, test your Shopify PDP thoroughly.
Check the following:
- Does the widget appear on desktop and mobile without layout shifts?
- Does it load quickly without blocking the add-to-cart button?
- If the widget collects data, does a test submission appear in your connected CRM or Google Sheet?
- Does the widget appear on the correct product pages and not on unintended pages?
- Is the widget accessible, meaning it works with keyboard navigation and screen readers?
Open the page in a private browsing window to see it as a fresh visitor would. Also test on a real mobile device rather than just the browser's responsive preview mode.
Once testing passes, your embeddable PDP widget is live and working.
Alternatives to Embeddable for Shopify Product Pages
Embeddable is the most flexible and purpose-built option for creating and embedding custom widgets on Shopify PDPs, but it is worth understanding how other tools compare.
Common Ninja
Common Ninja is a solid second option for merchants who want pre-built widget templates with less customization effort. It offers a library of widgets including reviews, countdown timers, and FAQ accordions, many of which can be embedded on Shopify product pages. The platform is easier to get started with for very simple use cases, though it offers less flexibility in terms of custom logic, formulas, and integrations compared to Embeddable. If you want something up and running in minutes with minimal configuration, Common Ninja is a reasonable choice.
Elfsight
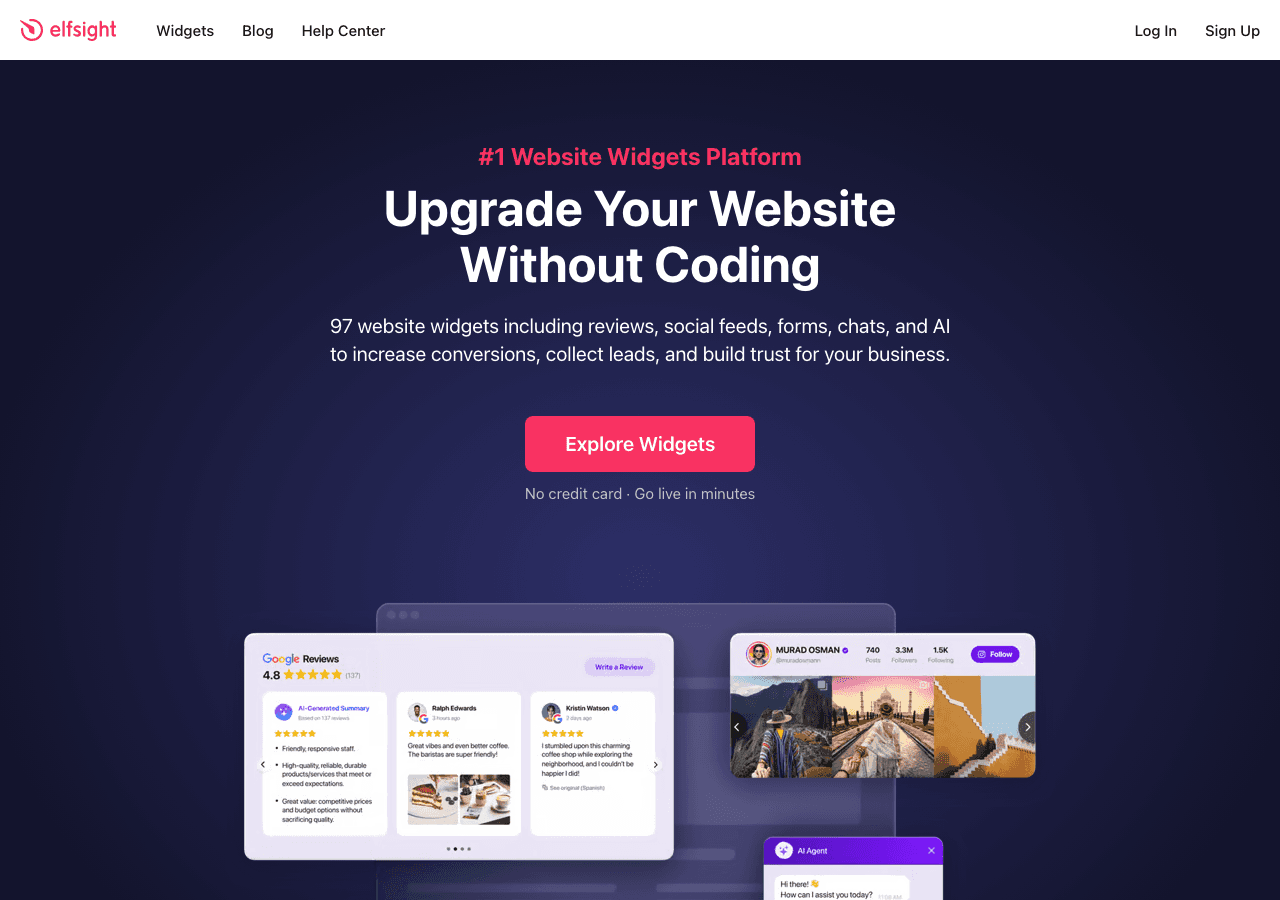
Elfsight is one of the more well-known widget marketplaces and covers a broad range of widget types. It works on Shopify and other platforms through embed codes. The widget selection is large, and setup is straightforward. However, Elfsight widgets tend to look more generic out of the box, and deep customization often requires upgrading to paid plans. For merchants who want pixel-perfect brand consistency on their Shopify product pages, the styling limitations can be a friction point.
Outgrow

Outgrow specializes in interactive content including calculators, quizzes, and assessments. It has strong calculator-building capabilities and is popular with marketers. The tool can technically be embedded on a Shopify PDP, but it is primarily designed as a standalone landing page or lead generation tool rather than a native product page component. The embed experience can feel disconnected from your product page layout, and pricing is steered toward marketing teams with larger budgets.
Jotform
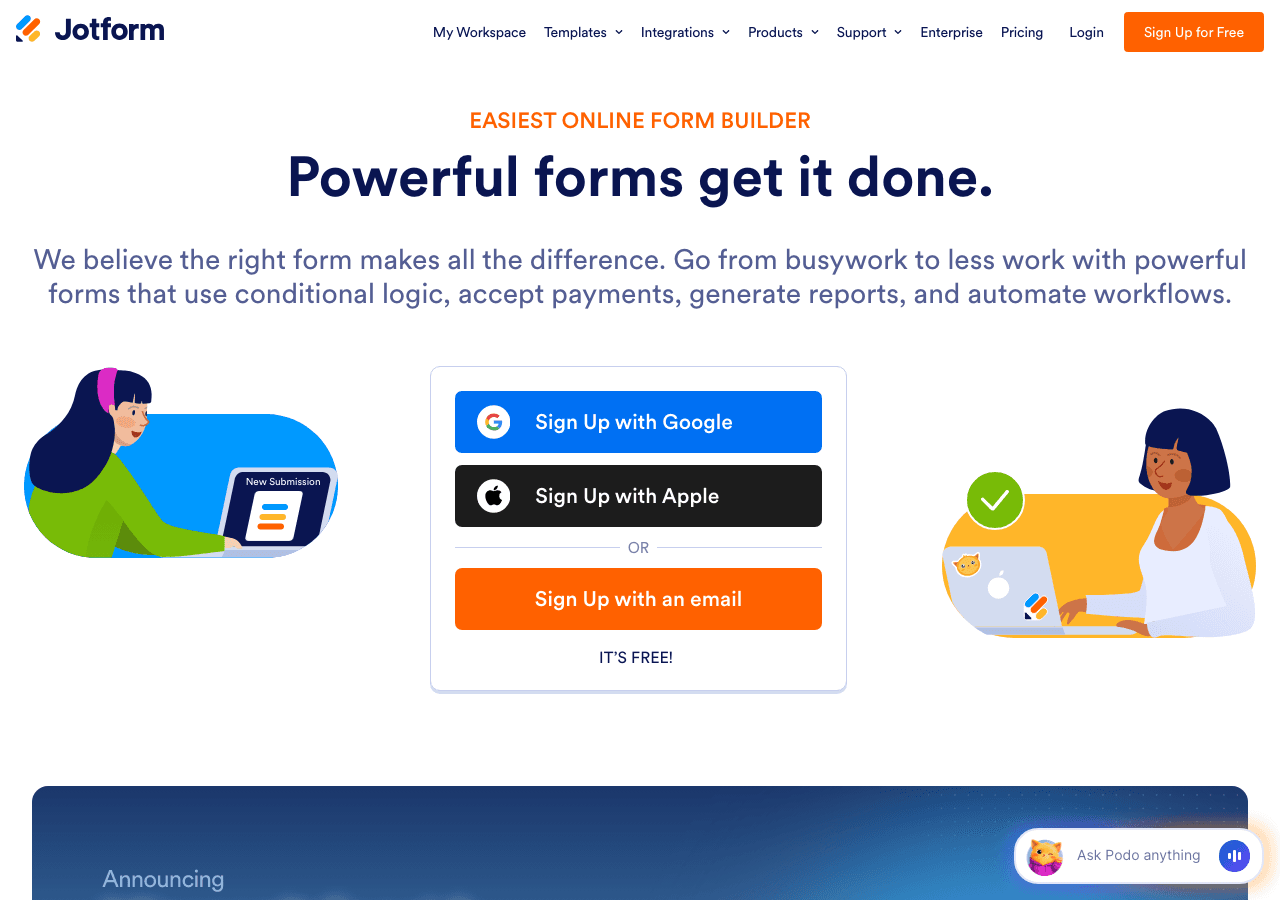
Jotform is primarily a form builder but has expanded into widgets and calculators. It works on Shopify and is particularly useful if your main goal is collecting information from product page visitors, such as custom order requests or consultation bookings. For pure form use cases, Jotform is capable. But if you need interactive calculators, quizzes, or visual components beyond forms, you will quickly hit its limitations.
The consistent pattern across these alternatives is that Embeddable gives you the widest range of widget types with the deepest customization, all from a single platform. If you want to embed a calculator, a quiz, a popup, and a form across different product pages without managing four different tool subscriptions, Embeddable handles all of them.
Common Mistakes to Avoid
Even with a clear process, merchants make predictable errors when they embed widget Shopify integrations. Here are the ones worth watching for:
Pasting the embed code in the wrong file. Shopify themes have multiple Liquid files, and pasting your code in a global layout file like theme.liquid will cause your widget to appear on every page, not just product pages. Always target your embed to the product template or use URL-based targeting in Embeddable.
Not testing on mobile. A widget that looks great on desktop can break a mobile layout if it has a fixed width or overflows its container. Always test on a real phone before going live.
Skipping the loading performance check. Widgets that load synchronously or pull in heavy external resources can slow your Shopify PDP and hurt Core Web Vitals scores. Embeddable loads asynchronously, but if you are stacking multiple widgets on a single page, check your Lighthouse score before and after to confirm there is no meaningful regression.
Placing widgets below the fold for high-intent content. A financing calculator that lives below the fold on a $2,000 product page will be missed by most shoppers. Map your widget placement to where that type of content has the highest impact on purchase decisions.
Not connecting data to your CRM. If your widget collects emails or contact information and you are not routing that data anywhere, you are losing the lead generation value entirely. Spend five minutes connecting your Embeddable widget to Klaviyo, HubSpot, or Google Sheets through the integrations panel.
Using one widget for all product pages without customization. A generic widget that is not tailored to the specific product often feels out of place to shoppers. Use Embeddable's targeting and content configuration to match each widget to the product it supports.
Forgetting to publish after edits. Embeddable separates the draft and published states of a widget. If you make changes but do not click "Publish," your live Shopify PDP will still show the old version. This is also a feature, since it lets you draft safely, but it is easy to forget. Check the how to publish changes guide if you are unsure about the publish flow.
Conclusion Checklist
Here is a quick summary of everything covered in this tutorial. Use this as your go-to checklist when you embed widget Shopify projects:
- Created an Embeddable account and selected the right widget type for your product page goal
- Built and styled the widget to match your store's branding
- Connected relevant integrations such as Klaviyo, HubSpot, or Google Sheets
- Published the widget and copied the embed code
- Pasted the embed code into the correct Shopify product template using Custom Liquid or direct file editing
- Positioned the widget in the most impactful location on the Shopify PDP
- Applied URL-based targeting to show the widget only on the right product pages
- Tested on both desktop and mobile, including a real device test
- Confirmed data is flowing to your CRM or spreadsheet
- Checked page load performance with Lighthouse or a similar tool
Embedding custom widgets on your Shopify product pages is one of the highest-leverage improvements you can make to your store in 2026. The gap between static PDPs and interactive ones is wide, and the tools available today make closing that gap accessible to any merchant, regardless of technical skill.
Start building your first embeddable PDP widget for free at embeddable.co/calculator-widgets-for-shopify for calculators, embeddable.co/quiz-widgets-for-shopify for product quizzes, or embeddable.co/form-widgets-for-shopify for custom forms. Pick the widget type that addresses your biggest conversion bottleneck and get it live on your Shopify product page today.
Build Any Widget with AI in Seconds
Forms, calculators, quizzes, popups & any custom widget — describe it and AI builds it.
Try It FreeFree tier · No credit card